Before moving to web application Installer create the database on your hosting server.
Creating Database:
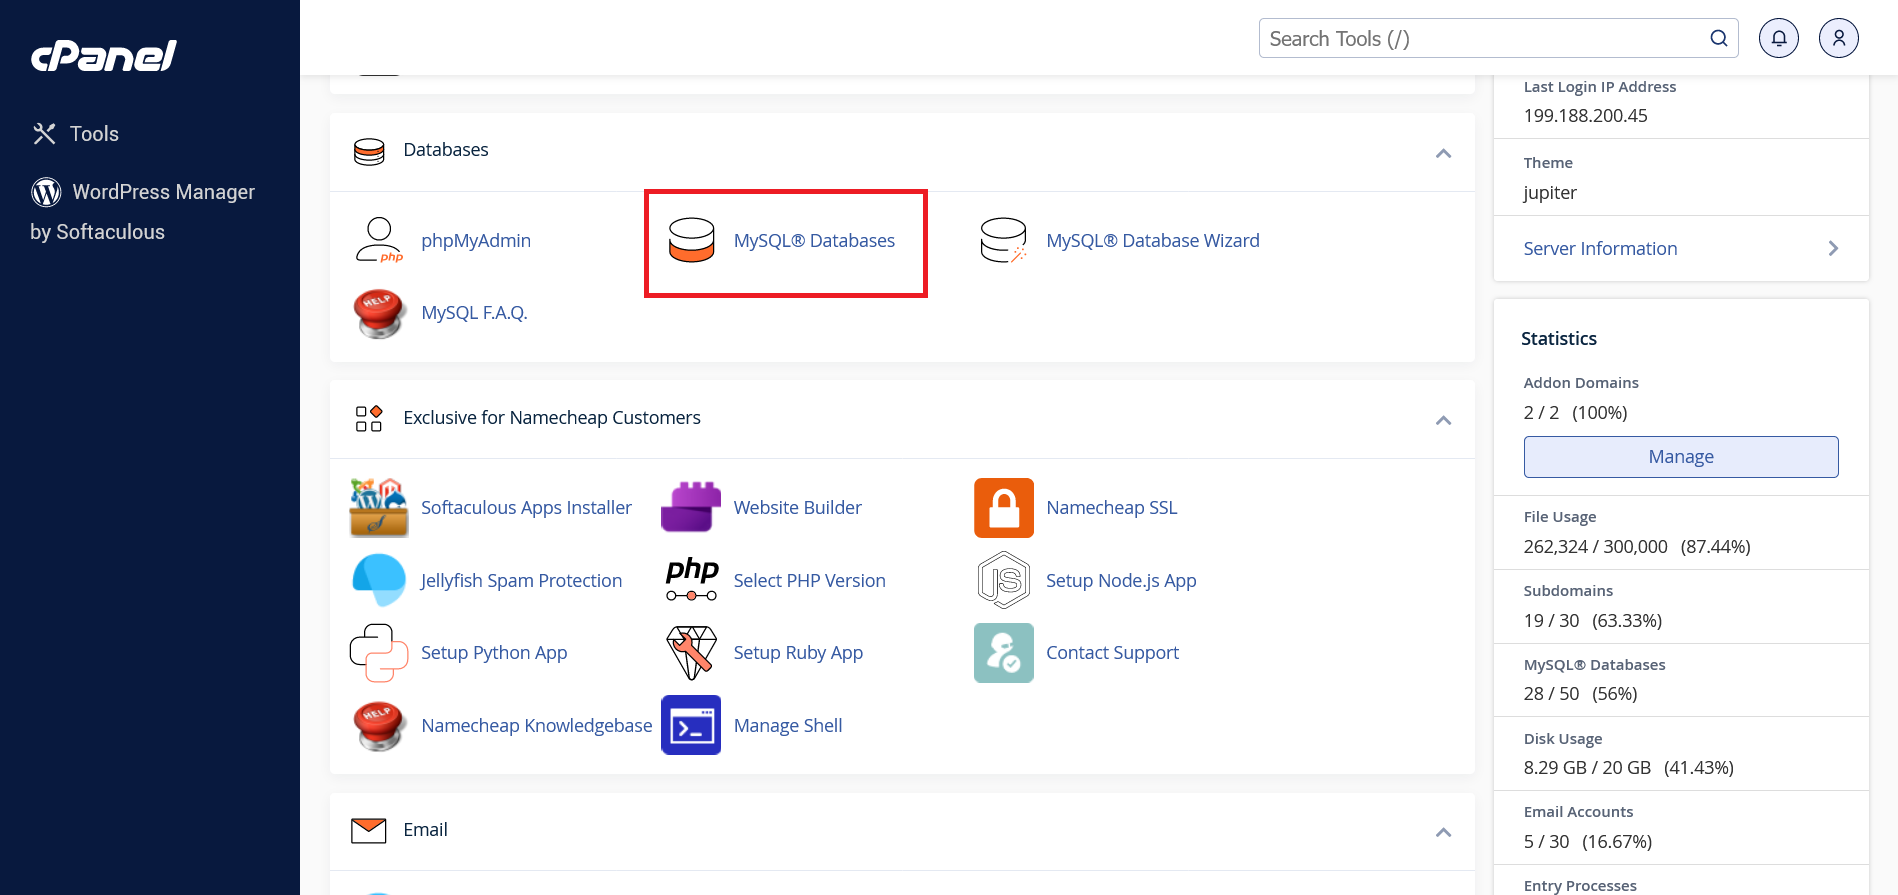
1. First you need to create database from your cPanel as shown in screenshot, Select MySQL-Database to redirect to database create page.
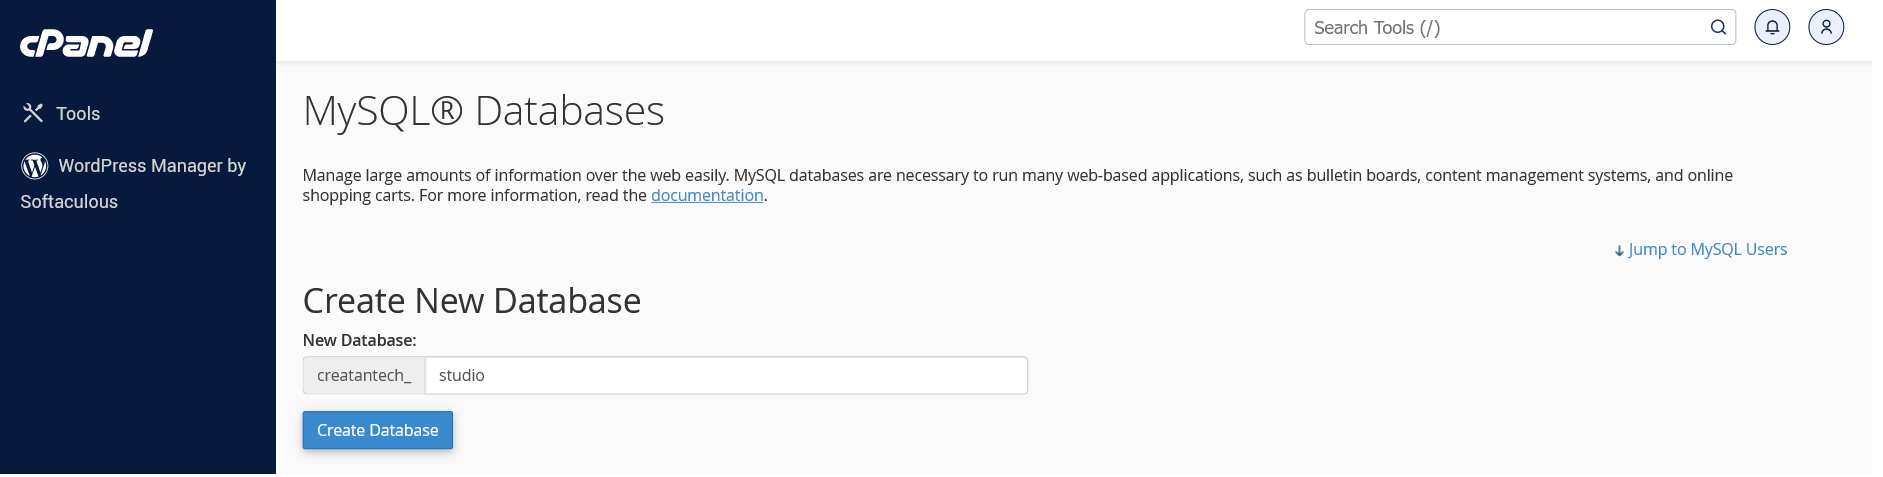
2. After redirecting you will see the database create options.
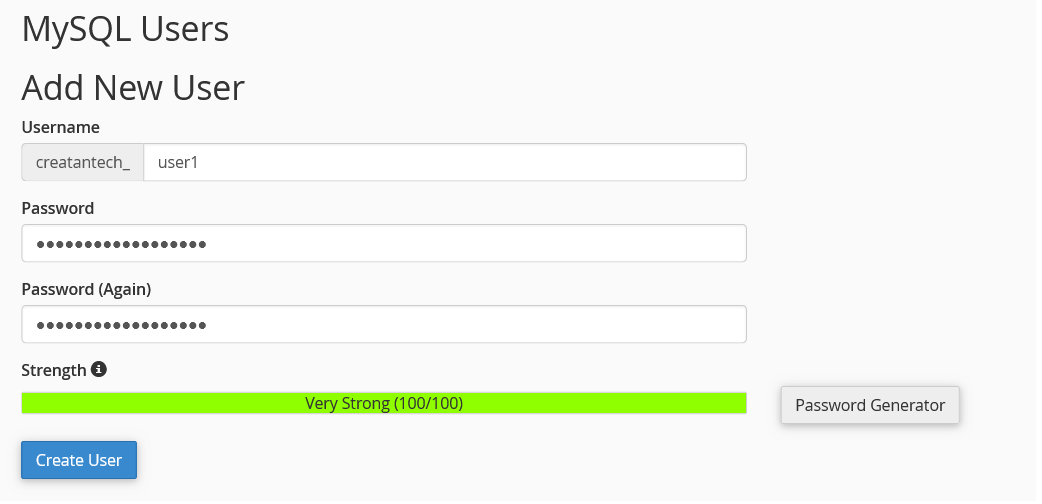
3. After creating database, you need to create user for that database.
4. After creating user, you need to provide privileges to user to handle the created database.
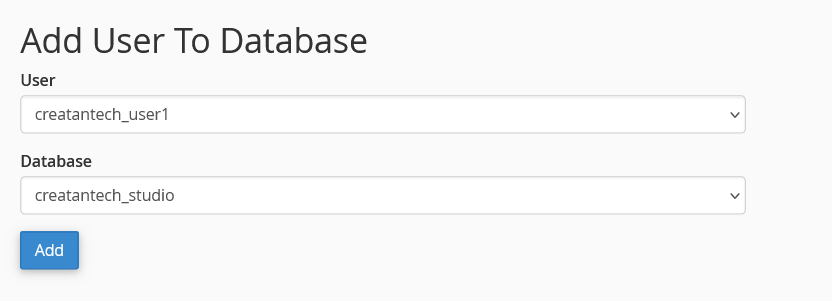
5. After selecting database & user, assign permission/privileges to that user.

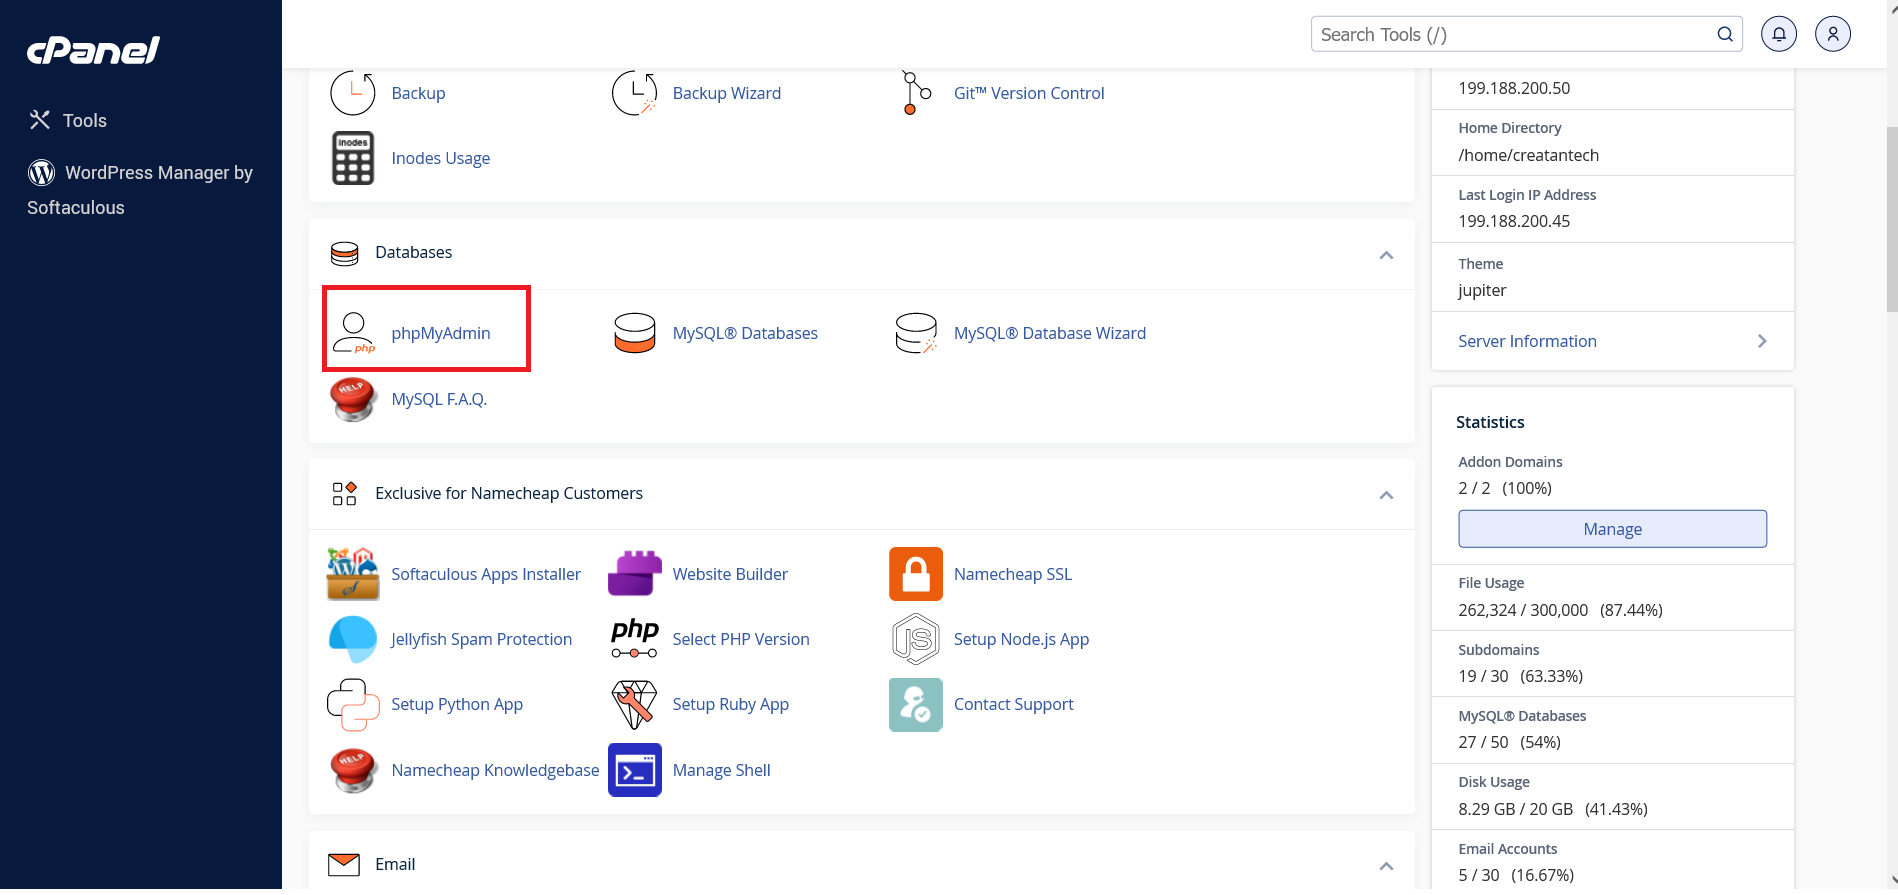
6. Your database created, now you can check your database by clicking on phpmyadmin, it will redirect to database page.
Accessing phpMyAdmin on Local Development Environment:
Using XAMPP:
- Launch XAMPP Control Panel
- Start both Apache and MySQL modules by clicking their respective "Start" buttons
- Access phpMyAdmin through either:
- Click the "Admin" button next to MySQL in XAMPP Control Panel
- Open your browser and visit
http://localhost/phpmyadmin
- Default login credentials:
- Username:
root - Password:
[leave blank]
- Username:
Using Laragon:
- Start Laragon (make sure the circle indicator is green)
- Access phpMyAdmin through either:
- Right-click Laragon tray icon → MySQL → phpMyAdmin
- Open your browser and visit
http://localhost/phpmyadmin
- Default login credentials:
- Username:
root - Password:
[leave blank]
- Username:
- Make sure both Apache and MySQL services are running before accessing phpMyAdmin
- If you can't access phpMyAdmin, check if ports 80 (Apache) and 3306 (MySQL) are not being used by other applications
- For security, consider setting a root password in development environment
- Keep your database name, username, and password secure
- Use strong passwords even in development environment
- Database name should not contain spaces or special characters
- Make note of these credentials as they'll be needed during application setup